Industrial Metrology
Industrial metrology is the science of measuring and characterizing the physical features and properties of manufactured parts and components. It is a critical aspect of manufacturing processes as it ensures that products meet the desired specifications and quality standards. Industrial metrology involves the use of specialized instruments and techniques to measure and analyze various characteristics of a manufactured part, including shape, size, surface finish, and material properties.
Our Areas Of Expertise In Industrial Metrology
Obsolescence Management
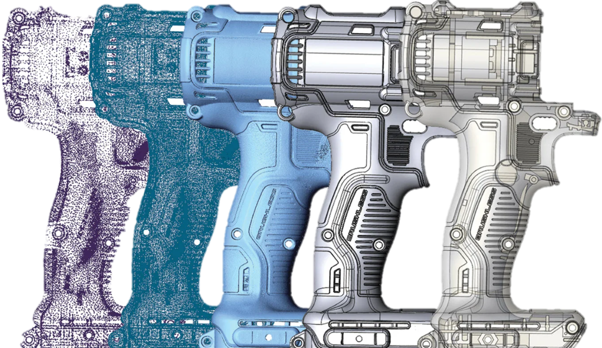
Obsolescence management refers to the process of identifying and mitigating the risks associated with obsolete or end-of-life components in a product design. In reverse engineering, obsolescence management is important because it can help identify components that are difficult or impossible to source, and find alternative solutions.
When reverse engineering a product, it is common to encounter obsolete components that are no longer available from the original manufacturer. Obsolete components can create a number of challenges, such as long lead times, high prices, and poor availability. In some cases, obsolete components may need to be reverse engineered themselves, which can be a complex and time-consuming process.
To manage obsolescence in reverse engineering, it is important to have a thorough understanding of the product design and its components. This includes identifying any components that are likely to become obsolete in the near future and finding alternative components that can be used as replacements. This may involve identifying components that have similar specifications or can be adapted to fit the product design.
3D Scanning
ReLogic uses specialized equipment and software to capture the geometry and texture of physical objects to convert them into digital 3D models. The resulting 3D models can be used for a variety of applications, such as visualization, prototyping, and manufacturing.
Structured light scanning
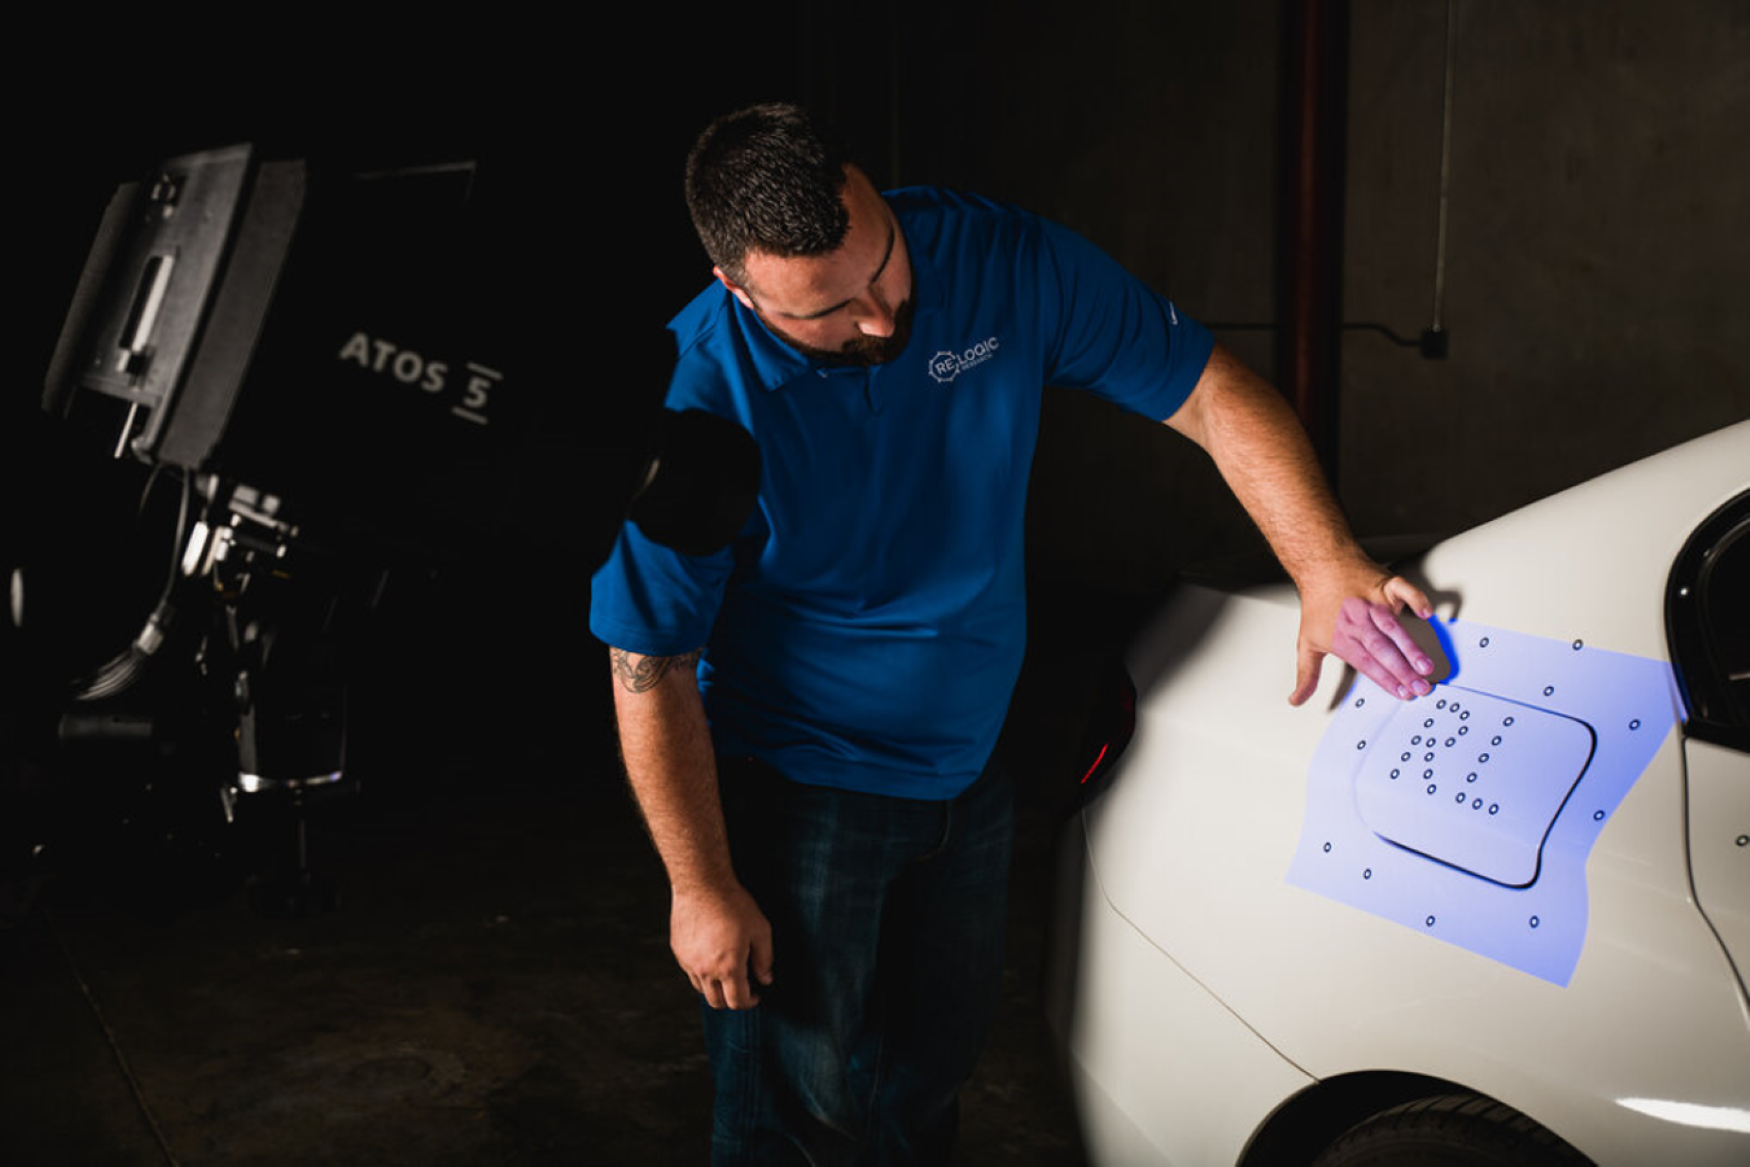
Structured blue light scanning is a method of 3D scanning that utilizes a structured light pattern projected in the blue light spectrum. It involves projecting a series of blue light patterns onto an object and capturing the reflected light with a camera. By analyzing the deformation of the patterns on the object's surface, precise 3D measurements can be obtained, enabling accurate digital replication or analysis.
Photogrammetry
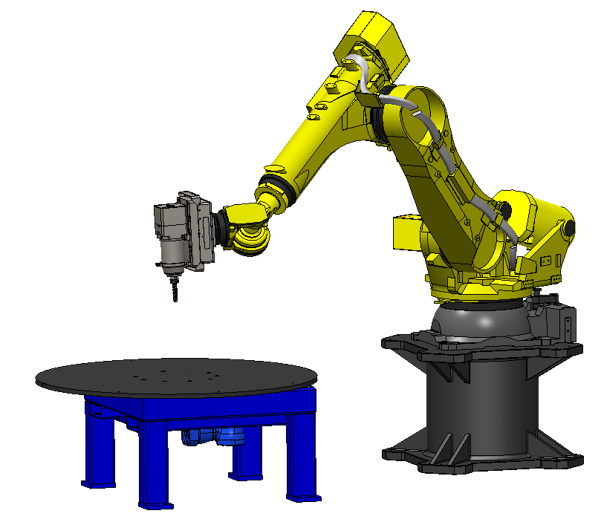
Images are captured from multiple angles using coded reference markers and calibrated scale bars to characterize a point cloud over an entire part volume. Photogrammetry is typically used in conjunction with structured light scanning to maintain accuracy over large parts or environments.
Live Tracking
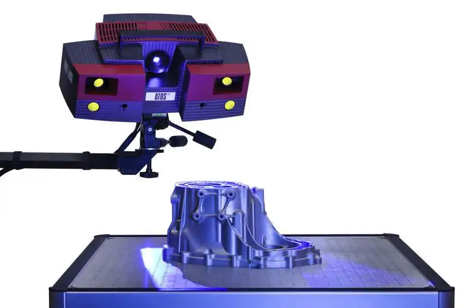
Live tracking in metrology refers to the real-time monitoring and tracking of the position and movement of objects during measurement processes. It involves using specialized sensors, such as laser trackers or optical systems, to continuously capture the position and orientation of the object being measured. This enables dynamic measurements, allowing for immediate adjustments and corrections to ensure accurate and precise measurements are obtained throughout the entire measurement process.
Reverse Engineering
Reverse engineering is the process of extracting the design information from an existing system or product, and then using that information to recreate or modify the product or system. Reverse engineering is commonly used in various industries, including aerospace, automotive, electronics, and medical devices, to improve existing designs, analyze competitor products, or to develop replacement parts.
Reverse engineering can provide several benefits, including the ability to improve existing designs, increase product efficiency, reduce manufacturing costs, and accelerate product development. Reverse engineering services can also help manufacturers to identify and fix design flaws, reduce product development time, and provide valuable insights into the competition's products.
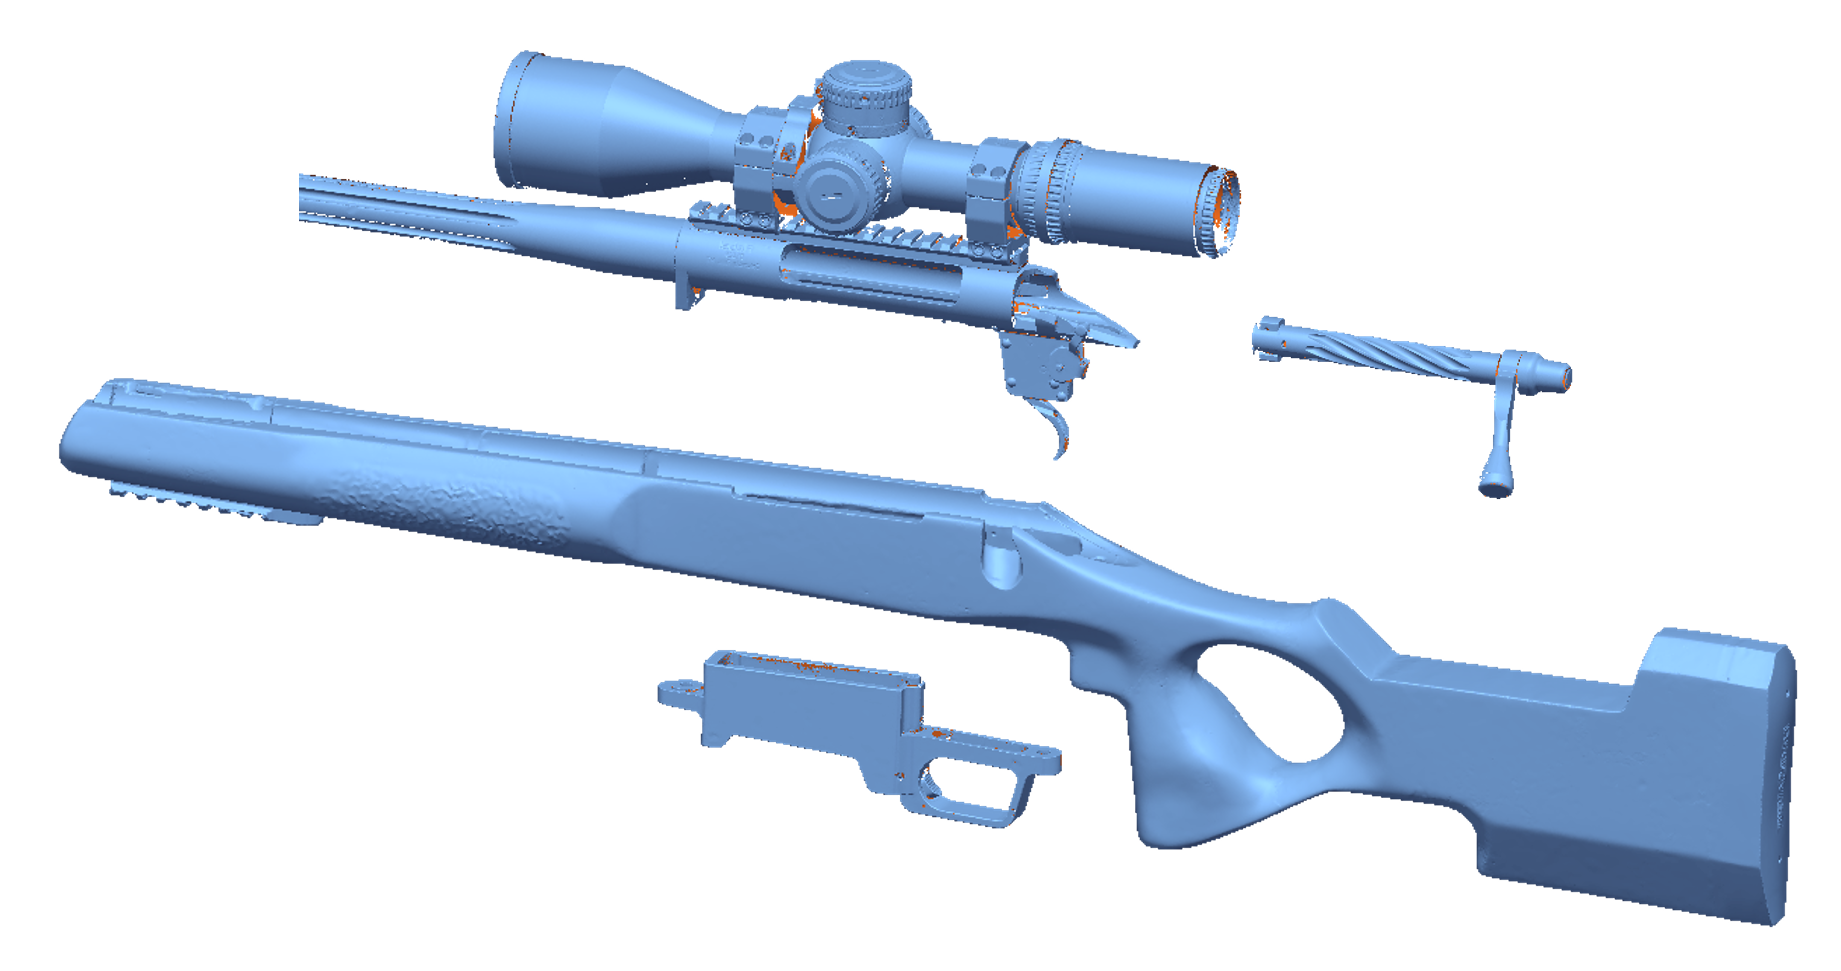
Disassembly
The first step in the reverse engineering process is to disassemble the product or system to its individual components.
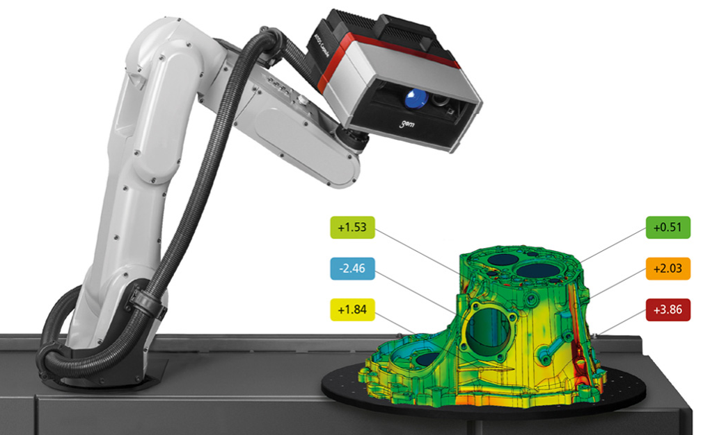
3D Scanning
The next step is to use 3D scanning technology, such as laser scanning or structured light scanning, to capture the geometry of each component.
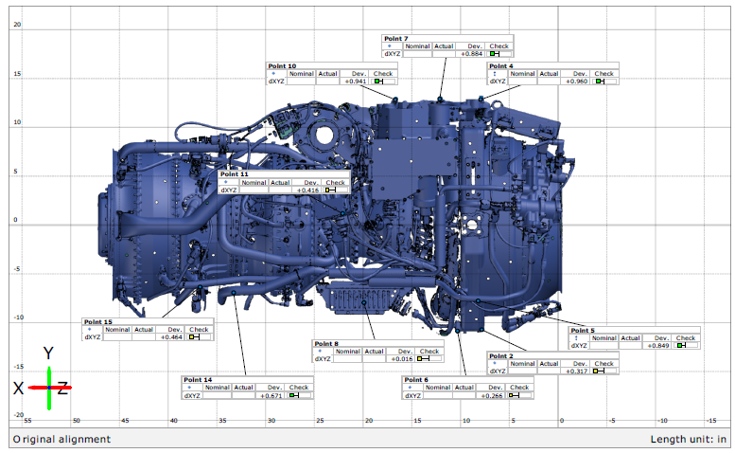
CAD Modeling
Once the 3D scan data is captured, the next step is to create a CAD model of each component. The CAD models can be used to analyze the design, identify potential defects, and make modifications.
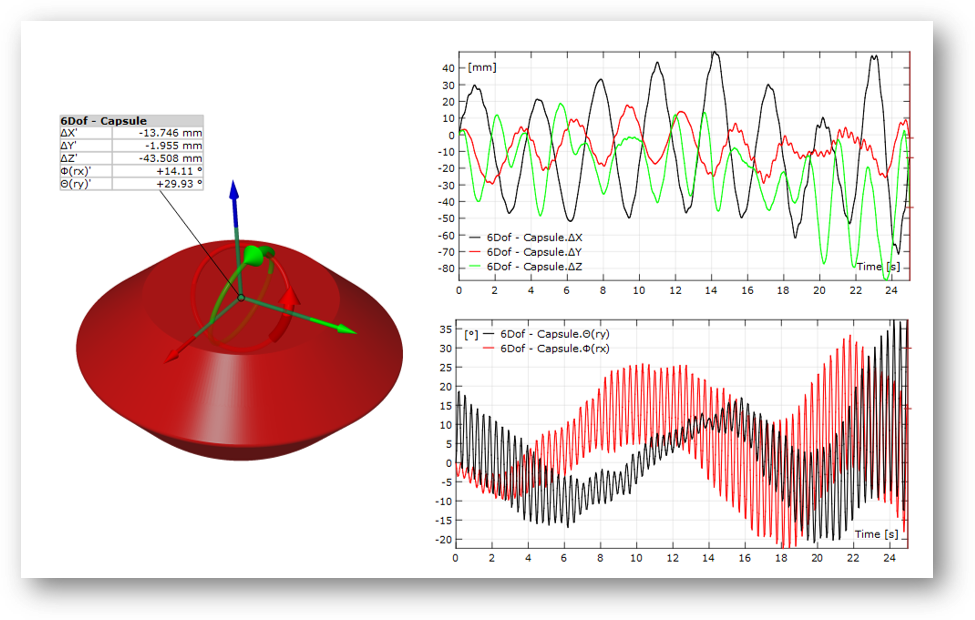
Analysis and simulation
The CAD models can also be used to perform various analyses and simulations, such as finite element analysis (FEA) or computational fluid dynamics (CFD), to evaluate the performance of the system or product under different conditions.
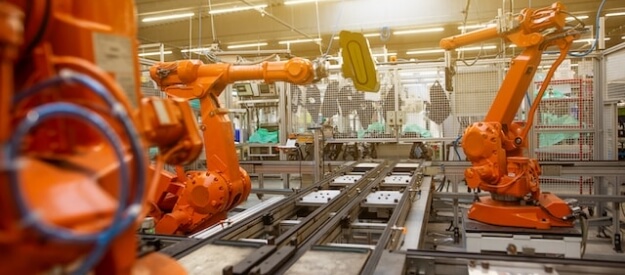
Manufacturing
Finally, the CAD models can be used to manufacture replacement parts or modify the existing system or product.

Contact Us!
To get in-touch with someone from our team for our Metrology and Reverse Engineering expertise, please fill out the information below and we will reach out soon!
